I am in LOVE with the chevron. I didn't know where, but I decided about a month ago that I wanted to paint some wall in our house with this pattern that has become so popular. After searching through Pinterest for the best method, I chose to tackle the feat of taping out and painting a chevron on our entry wall.
Total cost of this project, $0 since we had the paint sitting in the garage. :)
Materials Needed:
1. Base color paint
2. Chevron color paint
3. Painters tape and brushes
4. Level
5. Patience :)
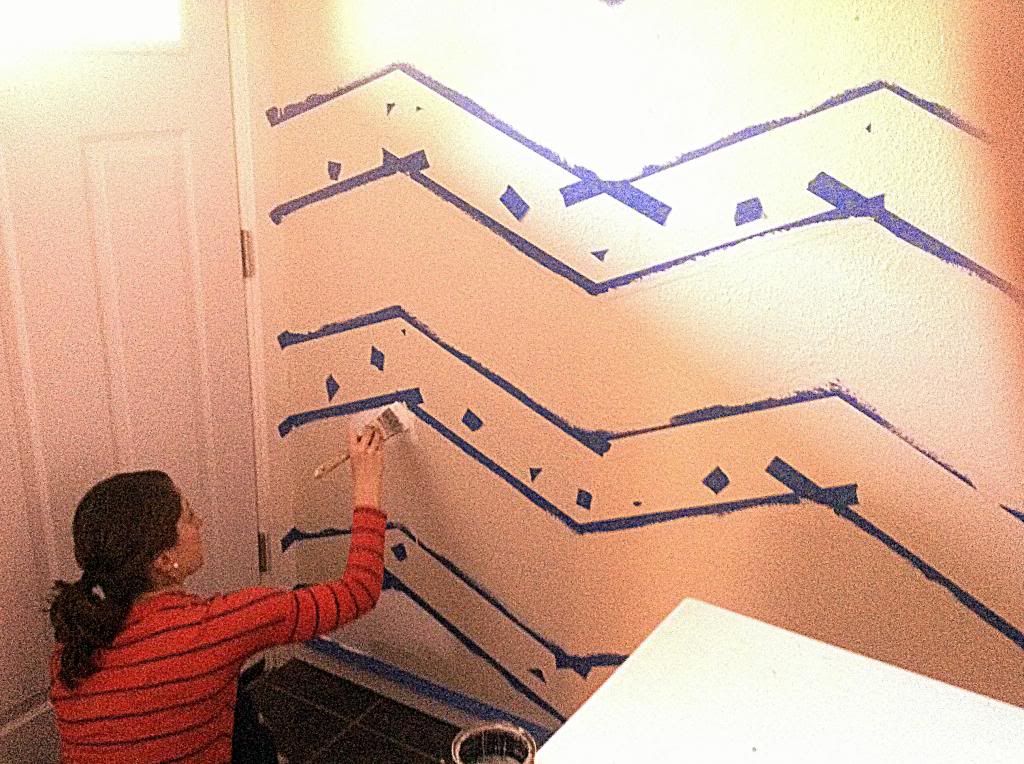
The first step was taping out the correct widths...this was
fun to do...it took me two tries to get the tape spaced out correctly. You see the first step in painting a chevron is realizing that you have to include the tape width in your measuring. I did 10-inch widths for each of my chevron stripes starting on the bottom and working my way up. This is where the level, laser or old-school, comes in. Make sure your points of each chevron line up vertically from the very beginning (problem on my first attempt).
**Painting Tip** Once you complete all the taping, use the original base color paint and paint over the tape area you are going to paint the new color. This seals the tape line, so that when you remove the tape after painting the new color on you have a crisp line with little touch-ups needed. Amazing time saver!
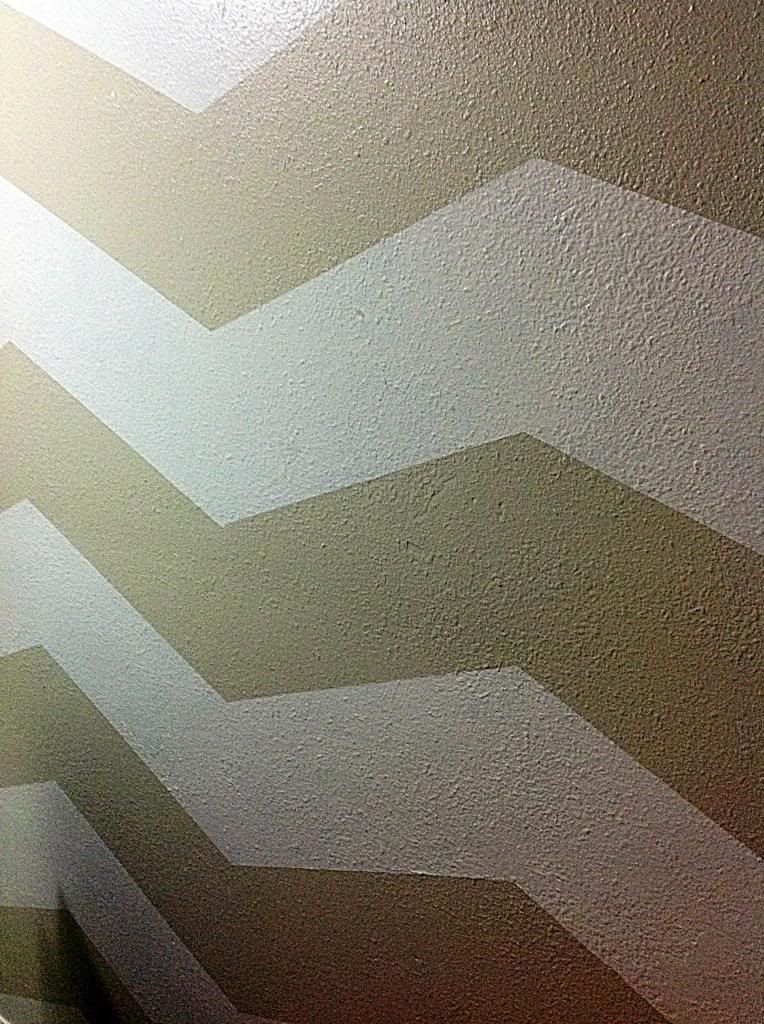
After painting the tape with the base coat, a light tan, I painted the white color in the correct areas. After it dried, I touched up the paint and carefully pealed off the tape. AMAZING. So in love with how this turned out, and how it brightened up our entryway.


3 comments:
You are so brave to tackle such a huge project! I LOVE how it came out! You go girl:)
That.is.awesome.
Wanna come do mine? ;)
Where did you find the wire shoe basket?
Post a Comment