Blake Denver - EIGHT Months
- He now weighs around 18 lbs...how has time gone by so fast
- He recognizes people now, and will wiggle and smile really big when he sees someone he knows.
- He can sit up and play all by himself now.
- He is continuing to get stronger; standing with support and has a strong desire to want to crawl, just hasn't mastered how to go forward yet. :)
- He is making lots of new sounds: grrrr, mmmmm (gonna be 'mama' soon), shhhh and more.
- He loves to play with his toys.
- Favorite Toys this month: Teething keys, books, toys with buttons....and mom's phone.
- He just started sleeping on his tummy...so cute :)
- He has become pretty ticklish; tummy, underarms and legs are the best spots to get a good Blake giggle.
- He LOVES to eat food!
- New foods tried this month: mangos (HUGE hit), pineapple, corn, bananas, blueberries, chicken (first meat), strawberries and cherries.
- He likes to hold our cups, especially the cold ones, and then looks at us shocked when he feels it.
- He is learning how to wave...does it once in awhile, but mostly thinks its funny that other people do to him.
- He celebrated Valentine's Day, and went to 'Cousin's Camp,' where he learned he will have a new cousin arriving this summer! Congrats Bryan and Charissa :)
- He really enjoys looking outside, and going on walks to look at all the trees.
- He started rolling towards his toys and the people he wants.
- He rolls all over in his crib at night; he often times will wake himself up in the night because he has scooted into the corner or his crib. He is also practicing to crawl while he sleeps.
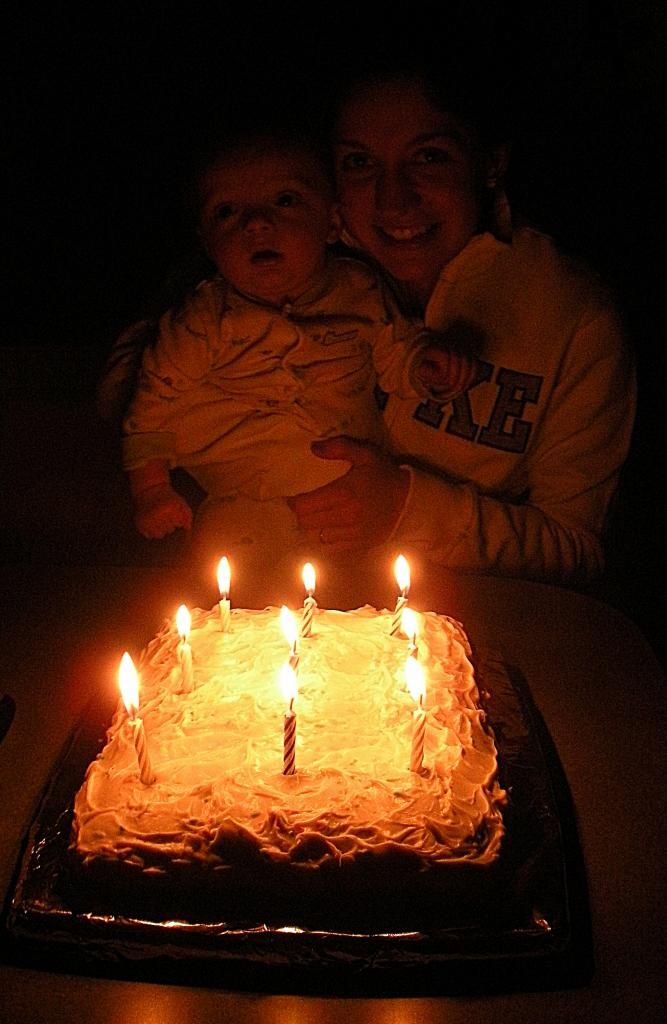
- He celebrated mom's 26th birthday with grandpa, grandma and mommy while dad was at a middle school youth group retreat.
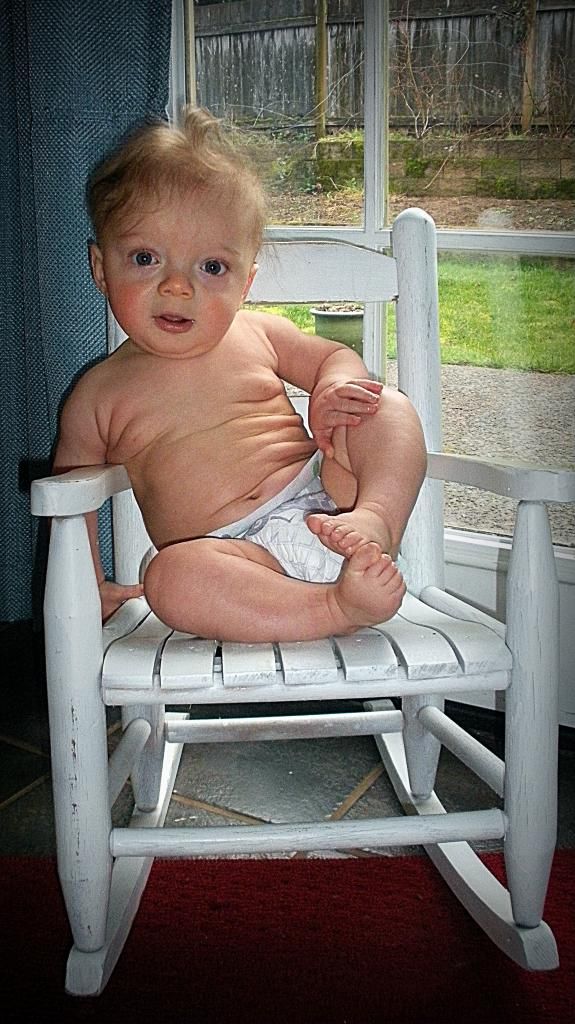
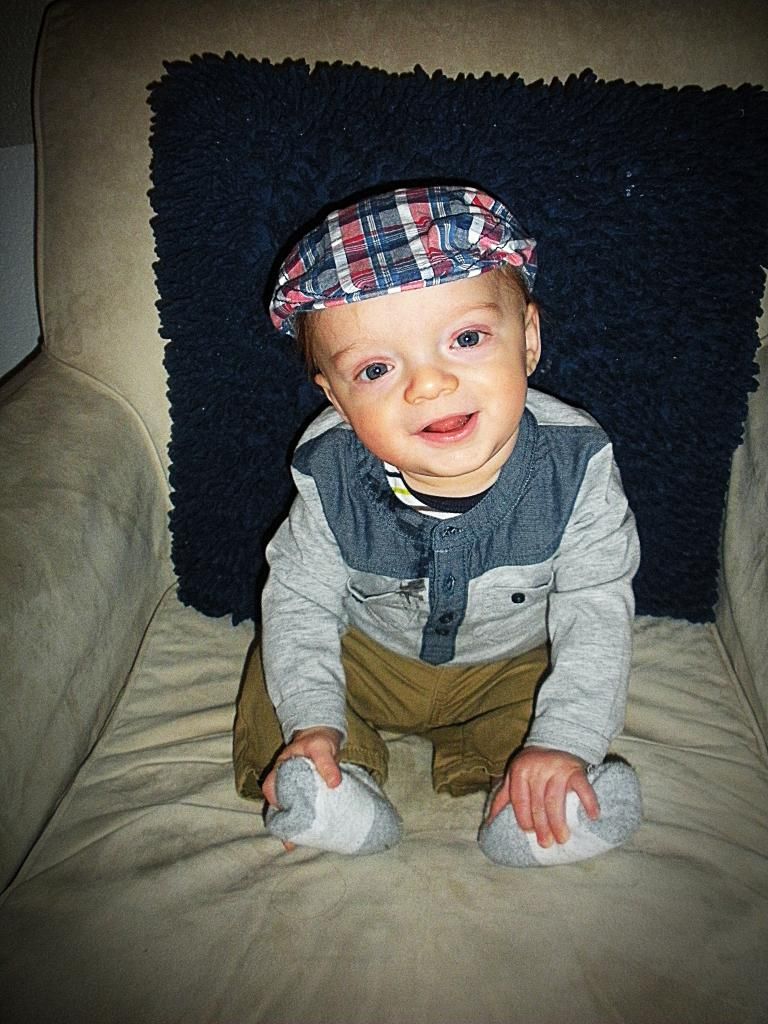
 |
| Getting ready for Opening Day. :) |
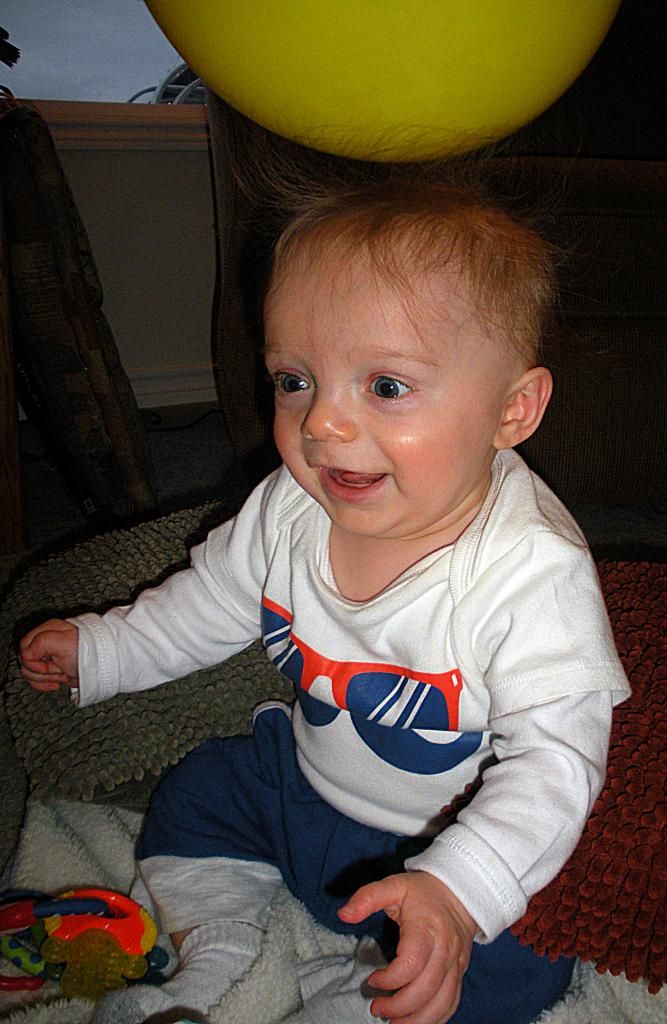
Blake discovered what a balloon is....
he first discovered them with uncle Gary up in Portland,
but they are funny all the time. :)
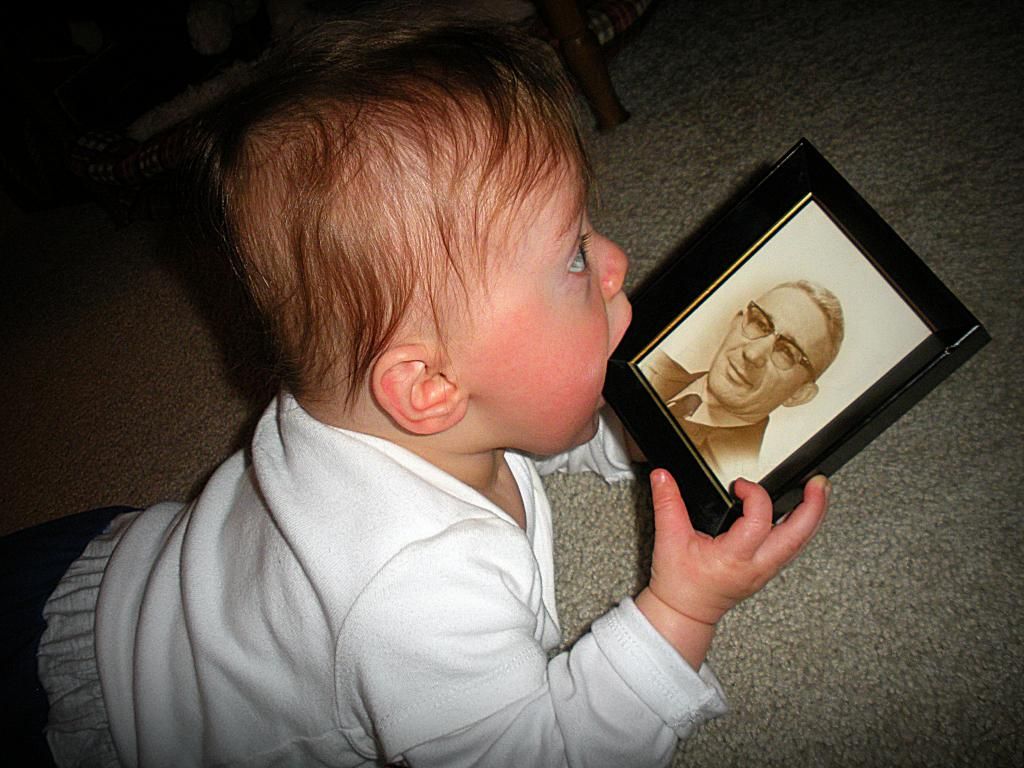 |
| 'Little Denver' with his Great Grandpa Denver |
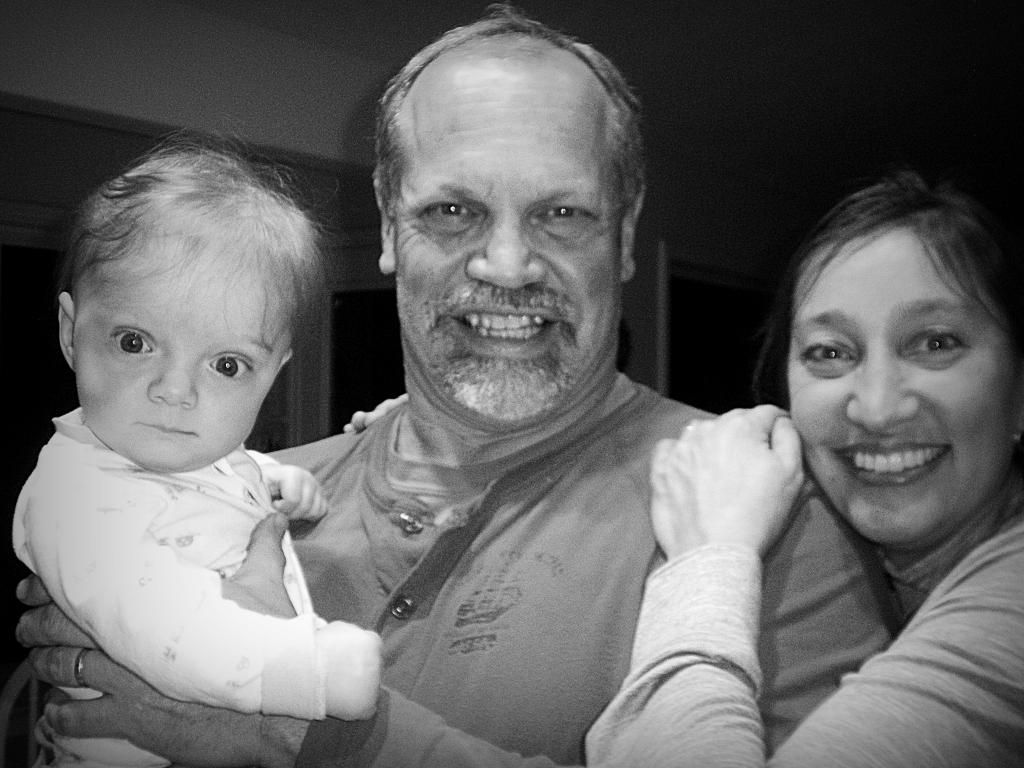 |
| Grandpa and Grandma Nolz |
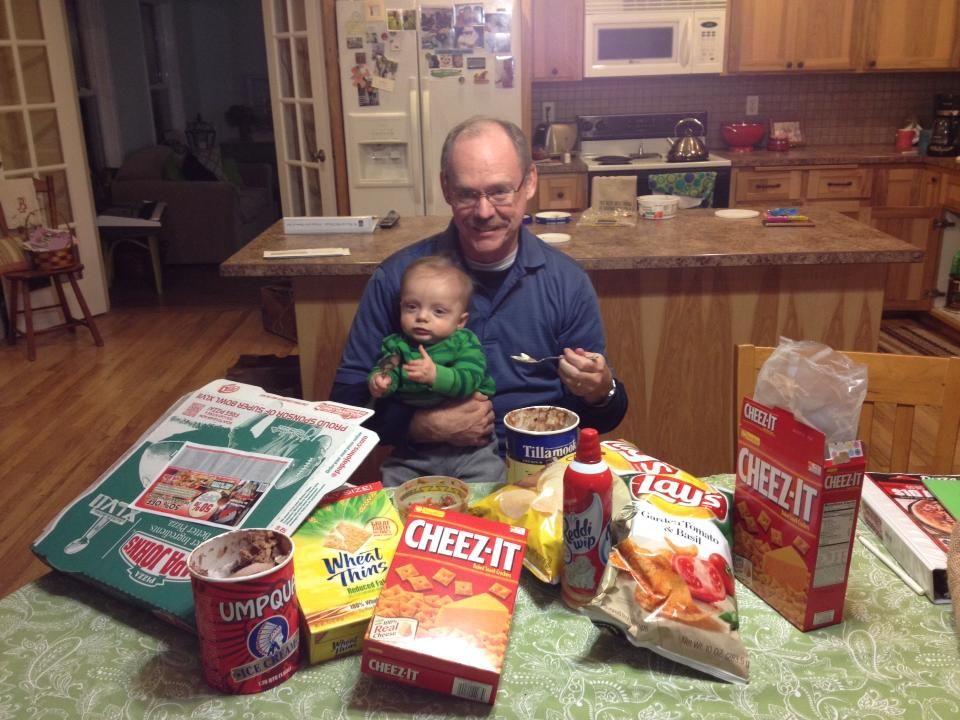 |
| Fun with Grandpa Bryce while mom was at 'Girl's Night Out' at church. |
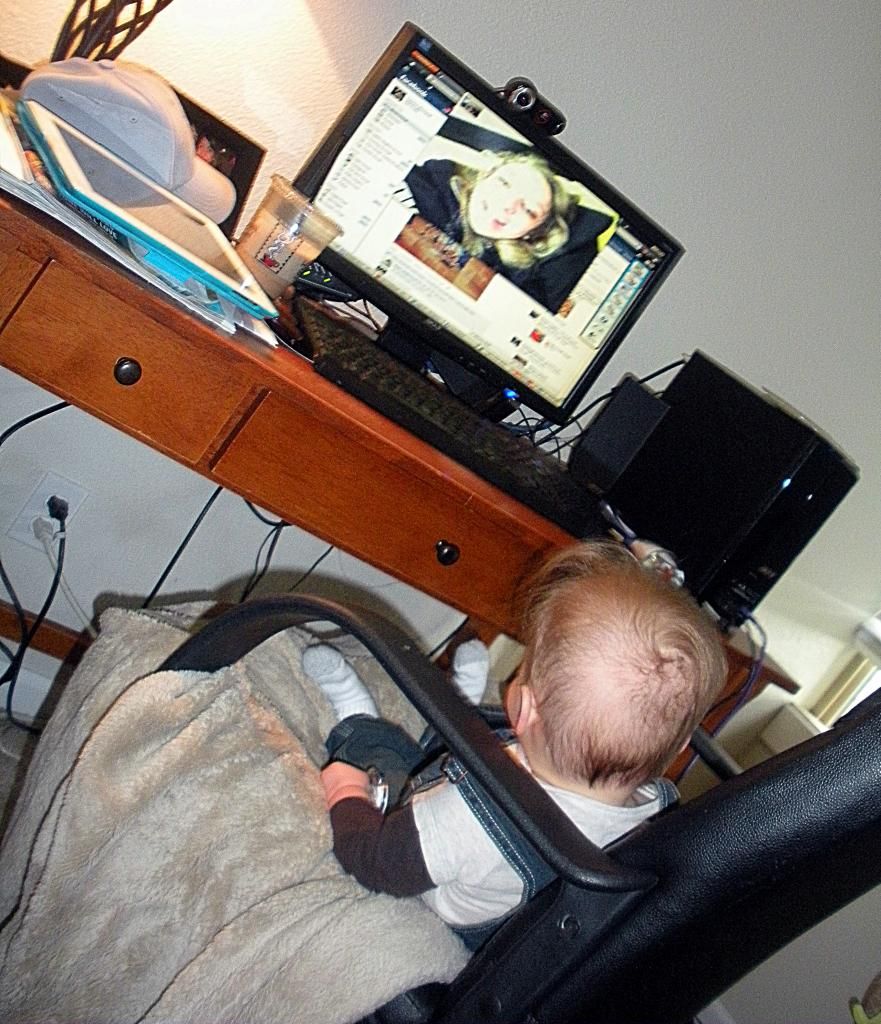
Blake loves spending time with family...even if that family doesn't live in Salem. In the picture above he is Skyping with his Aunt Kinsey...we may or may not have Skyped her while she was in class ;)
So thankful for the many blessings of this last month. Blake is one lucky little man to be surrounded by so many people that love him, and enjoy getting to watch him grow up. He is such a sweet, happy and silly little baby; so thankful for this little boy and the joy that he brings into our lives.
Our sweet little hope for the future.
"For I know the plans I have for you,”
declares the Lord, “Plans to prosper you
and not to harm you, plans to give you hope and a future."
Jeremiah 29:11